Maven Deploy with Nexus Repository in OpenShift 4
In this blog, we will be building a CI/CD pipeline (using OpenShift Pipelines) to deploy a Spring Boot application on OpenShift 4. We will be using Maven to store the application artifacts in an external Nexus repository. Then deploy from the Nexus repository into a container image using Buildah.
Background#
Maven is a build automation tools used for Java projects. By default, Maven will download and store the entire library jar, project jars and plugins, and all other project artifacts.
Nexus Repository OSS is an open-source repository that supports Maven builds. We can integrate Nexus in our pipeline to store the Java application jar, plugins, and other project artifacts instead of storing it locally through Maven.
Red Hat OpenShift is the leading enterprise Kubernetes platform that provides a consistent experience to manage hybrid cloud, multi-cloud, and edge deployments. We will be using OpenShift to deploy and manage our Spring Boot application.
OpenShift Pipelines (based on Tekton) is a cloud-native, CI/CD solution. We will use the pipeline to automate the build and deploy phases of the application lifecycle.
Buildah: used to build container images and push the image into the defined container registry.
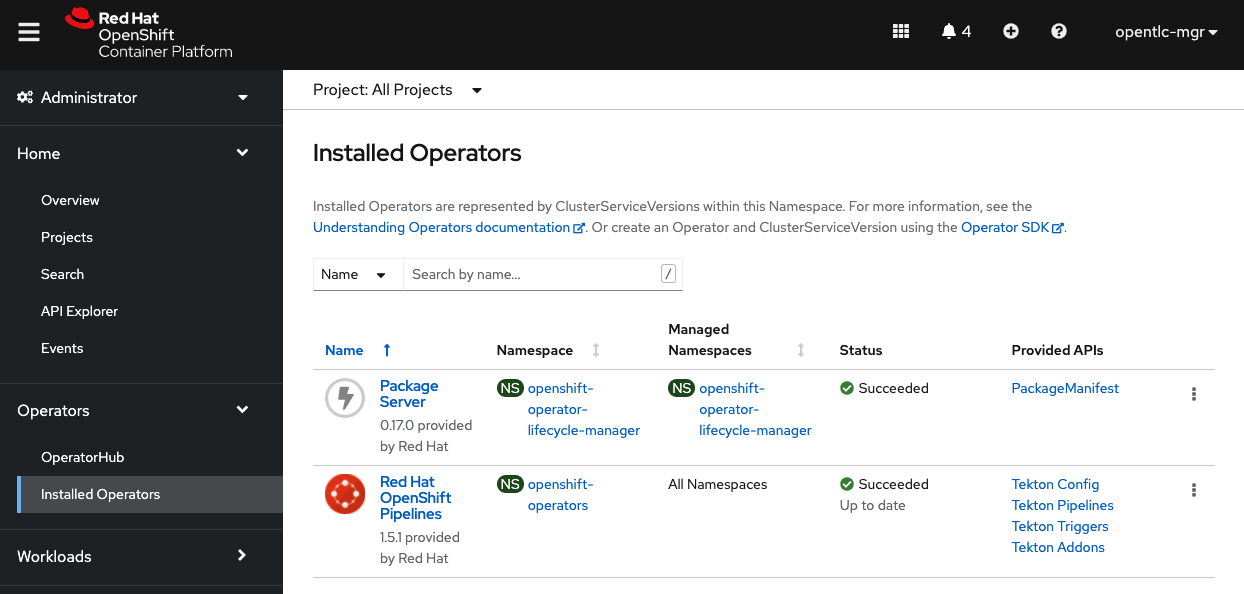
1. Install the OpenShift Pipeline Operator#
Using OperatorHub, search for “Openshift Pipelines” and install the operator with all default settings. Verify the operator installs successfully:
2. Build the Pipeline#
We will build a simple pipeline with the following tasks:
- git-clone: Clones our github repository
- maven: Downloads and stores our application packages, artifacts into Nexus Repository
- buildah: Will build a container image with the output .jar file from Maven
- openshift-cli-deploy: Using the
occommand, build a new application within OpenShift using the container image built by Buildah. - openshift-expose: Expose the routes tied to the services deployed for the application.
To quickly deploy the pipeline, use the YAML configuration by pasting the YAML contents into the OpenShift “import” feature.
We will also need to build a PVC to assign to the pipeline (using namespace ‘pipeline-tutorial’):

3. Install the Nexus Repository Operator#
Next, we will need to install the Nexus operator from OperatorHub:

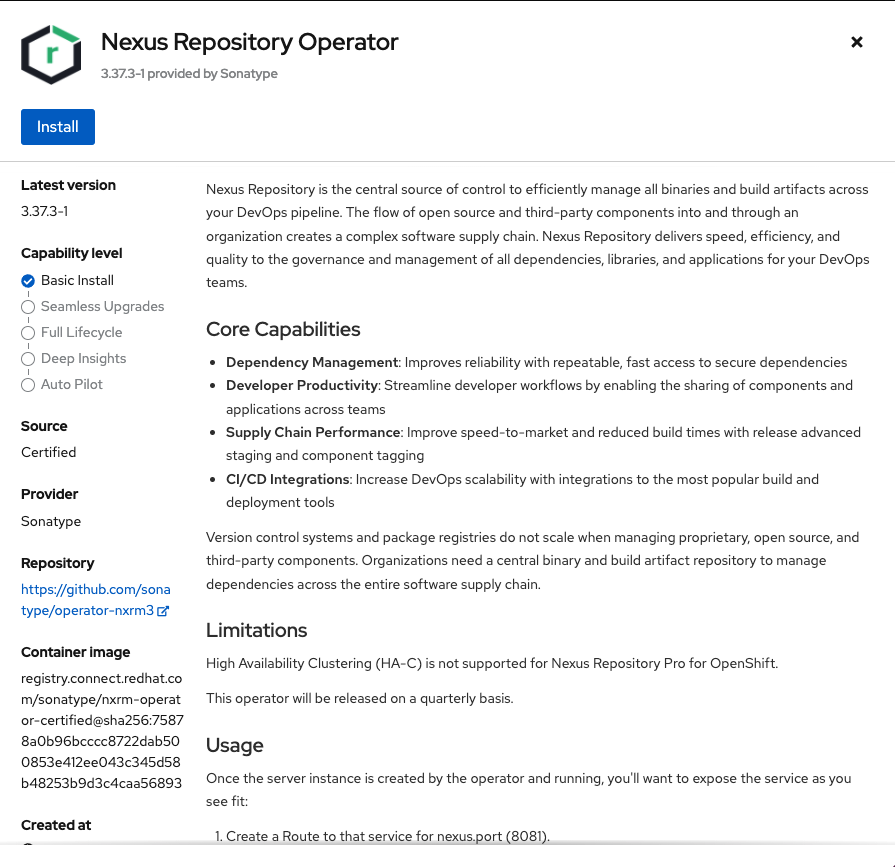
Use the default installation parameters. Verify the operator is installed successfully.
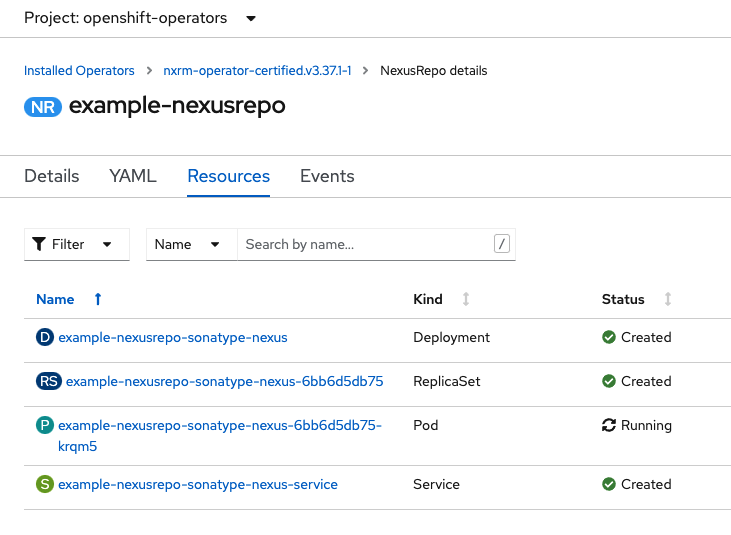
4. Configure the Nexus Repository#
Within the openshift-operators namepace, go into Installed Operators. Go to Nexus Repository Operator and create a new instance of NexusRepo:

Verify all the associated resources were created:
Create a route for the Nexus repo service:
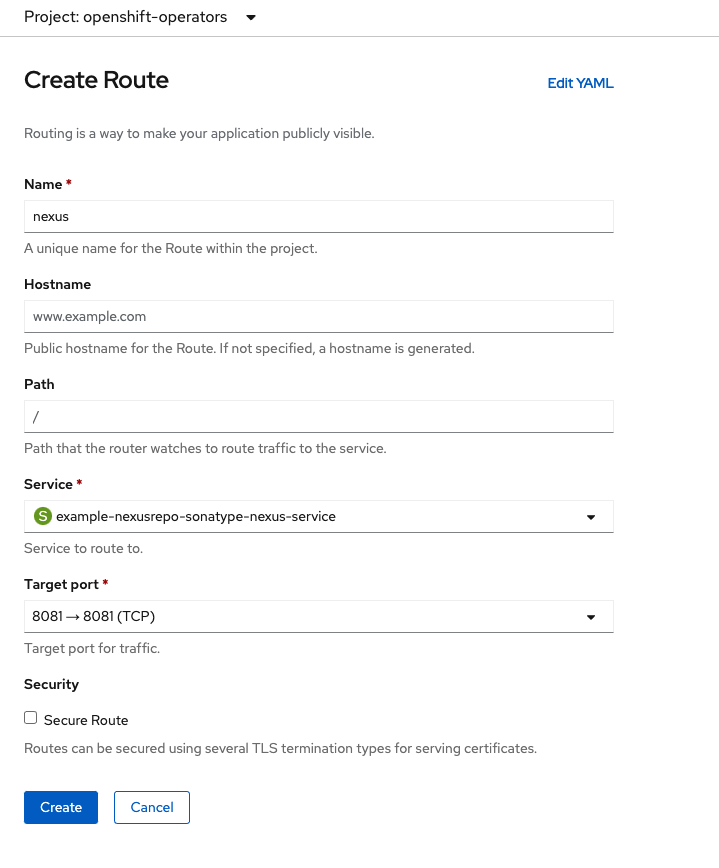
Verify you can reach the Nexus front-end through the route created:
5. Configure Maven settings to deploy to Nexus#
In order for our Maven task to work with Nexus, we will have to make a few configurations:
Create a ConfigMap for custom-maven-settings:#
Under the pipeline-tutorial namespace, create a new ConfigMap called custom-maven-settings which will store our settings.xml:
kind: ConfigMap
apiVersion: v1
metadata:
  name: custom-maven-settings
  namespace: pipeline-tutorial
data:
  settings.xml: |
    <?xml version="1.0" encoding="UTF-8"?>
    <settings>
      <mirrors>
        <mirror>
          <id>maven.org</id>
          <name>Default mirror</name>
          <url>INSERT-NEXUS-URL-HERE</url>
          <mirrorOf>central</mirrorOf>
        </mirror>
      </mirrors>
      <servers>
        <server>
            <id>nexus</id>
            <username>admin</username>
            <password>NEXUS-ADMIN-PASSWORD</password>
        </server>
      </servers>
    </settings>
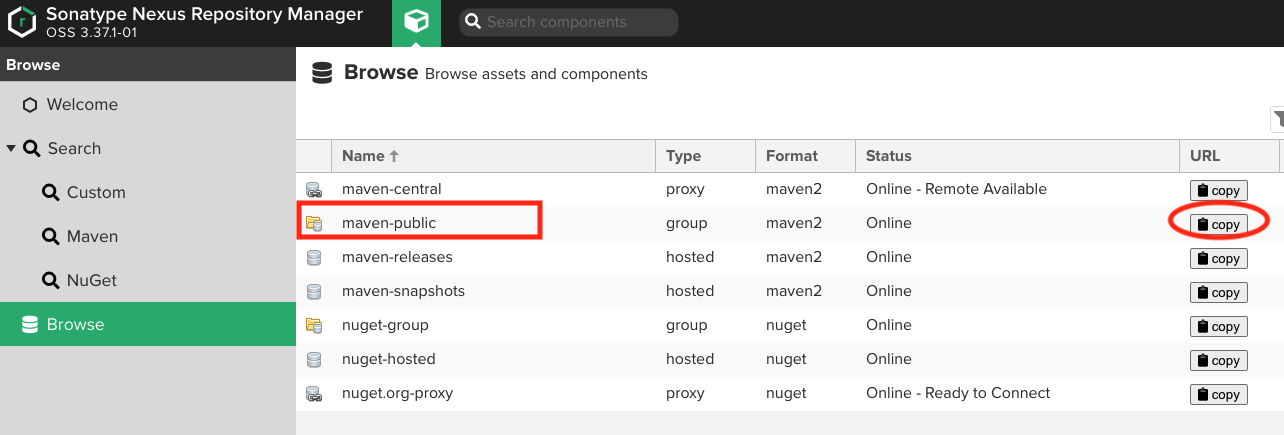
The settings.xml will define:
INSERT-NEXUS-URL-HERE: The Nexus server URL and path to the maven-public repository
2. NEXUS-ADMIN-PASSWORD: The
Update the application pom.xml to include all the required plugins and distributionManagement:#
Adding maven-deploy-plugin and nexus-staging-maven-plugin:
Add the following plugins to the pom.xml to allow Maven to deploy the application .jar to our Nexus server:
<build>
	<plugins>
		...
		<plugin>
		   <groupId>org.apache.maven.plugins</groupId>
		   <artifactId>maven-deploy-plugin</artifactId>
		   <version>${maven-deploy-plugin.version}</version>
		   <configuration>
		      <skip>true</skip>
		   </configuration>
		</plugin>

		<plugin>
		   <groupId>org.sonatype.plugins</groupId>
		   <artifactId>nexus-staging-maven-plugin</artifactId>
		   <version>1.5.1</version>
		   <executions>
		      <execution>
			 <id>default-deploy</id>
			 <phase>deploy</phase>
			 <goals>
			    <goal>deploy</goal>
			 </goals>
		      </execution>
		   </executions>
		   <configuration>
		      <serverId>nexus</serverId>
		      <nexusUrl>INSERT-BASE-NEXUS-SERVER-URL</nexusUrl>
		      <skipStaging>true</skipStaging>
		   </configuration>
		</plugin>
	</plugins>
</build>
INSERT-BASE-NEXUS-SERVER-URL: Insert the Nexus server base URL
Adding a distributionManagement configuration:
<project>
  ...
  <distributionManagement>
      <repository>
        <id>nexus</id>
        <name>Releases</name>
        <url>INSERT-NEXUS-REPOSITORY-MAVEN-RELEASES</url>
      </repository>
      <snapshotRepository>
        <id>nexus</id>
        <name>Snapshot</name>
        <url>INSERT-NEXUS-REPOSITORY-MAVEN-SNAPSHOTS</url>
      </snapshotRepository>
  </distributionManagement>
</project>
INSERT-NEXUS-REPOSITORY-MAVEN-RELEASES: Insert the Nexus' maven-releases repository URLINSERT-NEXUS-REPOSITORY-MAVEN-SNAPSHOTS: Insert the Nexus maven-snapshots repository URL

6. Update Buildah to pull application .jar from Nexus#
In order to have our Buildah task obtain the application .jar from Nexus, we will need to update our Dockerfile with the path to the .jar on the Nexus server.
After running the Maven task, in the server logs:
Uploaded to nexus: http://nexus-server.com/repository/maven-snapshots/com/aliction/animals-counter-springboot/0.0.1-SNAPSHOT/animals-counter-springboot-0.0.1-XXXXX.jar
In the Dockerfile, update the ADD parameter to point where in the Nexus repository the .jar file resides:
ADD http://nexus-server.com/repository/maven-snapshots/com/aliction/animals-counter-springboot/0.0.1-SNAPSHOT/animals-counter-springboot-0.0.1-XXXXX.jar /deployments/application.jar
7. Run the Pipeline#
At this point, we have all the required configurations to run our pipeline. You can kick off the pipeline manually if you don’t have a trigger defined.

If it successfully runs, you’ll see green check boxes on each task!
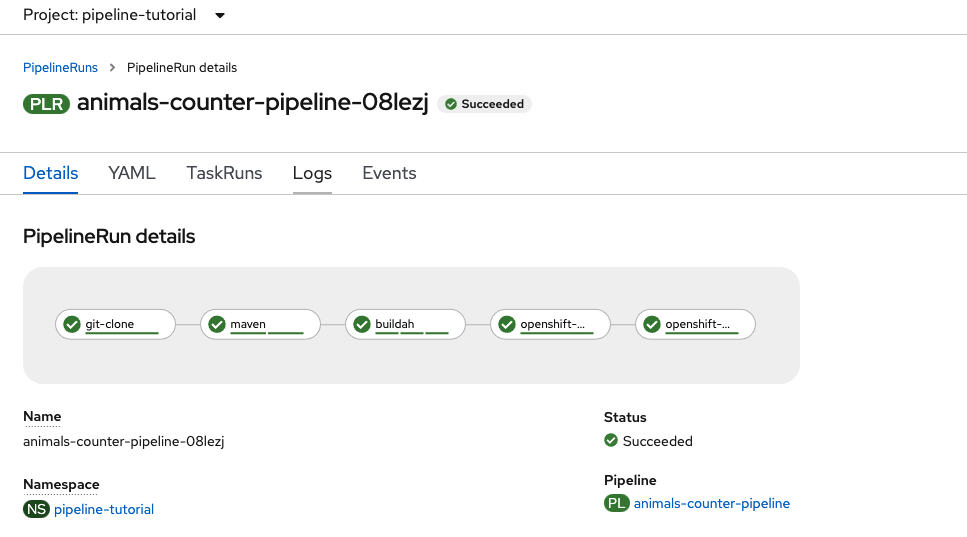
And the pipeline should’ve created Deployments, Services, and Routes!
Resources#
- How to Deploy the Artifacts of a Project to Nexus, with Maven , Sonatype Jan 13, 2018
- Troubleshooting Artifact Deployment Failures Guide for any Nexus error codes, Sonatype
- Tekton Hub - Maven
- Tekton Hub - Buildah